October 31, 2010

Halloween Roll Cookies

You didn't think I'd let Halloween pass by without posting some sort of themed confection, did you?  Although Halloween (and its candy) may have lost some of the charm it had when I was younger, I'm still a big fan of the spooky decorations, horror movies, and costumes.  This Halloween, I decided to make roll cookies with some Halloween cookie cutters I bought from Sur-La-Table for 56 cents each! I guess being last minute has its perks.

For the cookies, I used a recipe that my family used to make every Christmas.  It's the Rich Roll Cookies on page 661 of Joy of Cooking.  I'm not going to reprint the recipe here both for copyright reasons and because I think everyone owns, or knows someone who owns, a copy of Joy of Cooking. The recipe is basic (and buttery) but it also stirs up some nostalgia for me and that's why I think it's just right.

Spot the hipster cookie
For decorating, I made a simple icing with a mix of confectioners sugar and milk.  This icing isn't the tastiest on it's own but it's sweetness and simplicity complements the cookies nicely.  Though I'm not reprinting the recipe, I do have some useful notes and tips to share with you that aren't listed in the book:

1) You don't need to use any flour for dusting if you roll out the dough between two pieces of wax paper.
2) Working on a marble or granite surface will make removing the cut cookies and transferring them to a cookie sheet easier (the stone keeps the dough slightly chilled).
3) If you're having trouble moving your cookies from the wax paper to your cookie sheet, simply place the wax paper on the cookie sheet and put the whole thing in the freezer for about 7 minutes.  This will make peeling the cookies off MUCH easier.  It was a real life saver for me.
4) These are probably sort of obvious but... the thinner your cookies the more difficult they will be to transfer (definitely use the freezer method above for very thing cookies regardless of work surface). 
5) Cookies on a parchment lined baking sheet will cook more slowly those on an unlined baking sheet.
6) I prefer these cookies lightly browned because it makes their basic flavor a bit more complex.
Edited to add: 7) The recipe calls for 2 1/2 cups flour and I snuck in 1 cup whole wheat pastry flour... no one could tell the difference, even I forgot until just now!

HAPPY HALLOWEEN!

October 29, 2010

Apple Cider Muffins

 I think muffins are one of my favorite things to bake.  They're quick, they're difficult to mess up AND you can eat them for breakfast.  In the spirit of fall, I bought some fresh apple cider at a local market, and though I've been enjoying it hot and mulled, I couldn't resist experimenting with it in the kitchen.

I stumbled upon a few recipes for Apple Cider Muffins online but ultimately decided that this one from MegaCrafty looked the best.  The rolled in sugar tops reminded me of another recipe I've been lusting after: Donut Muffins(!)... but I'm saving that one for another time.

I liked these muffins a lot.  The cider flavor was subtle but present and the soft chunks of apples added a nice textural element.  They also lasted much longer (at least a week) than other fruit filled muffins I've made in the past, which usually end up a bit soggy after 3 or 4 days. 

Apple Cider Muffins
Adapted from MegaCrafty

Ingredients
1 1/4 cups apple cider
1 cup whole wheat pastry flour
1/2 cup unbleached all-purpose flour
1/2 cup light brown sugar, do not pack
1/2 teaspoon salt
2 teaspoons baking powder
1/4 teaspoon baking soda
1 teaspoon cinnamon
pinch of nutmeg
1 Honeycrisp apple, peeled and chopped into bite sized pieces
1/4 cup unsweetened applesauce
1/4 cup oil (any neutral oil will work)
1 egg
2 tablespoons no sugar added apple butter (I used Kime's Apple Butter Spread- this kicks up the cider flavor)
1/2 teaspoon vanilla

Topping:
1 1/2 tablespoons sugar
1 tablespoon cinnamon

Preparation
Preheat oven to 400 degrees. Butter your muffin pans or use muffin liners (makes 12- 15 muffins).

Bring apple cider to a boil in a sauce pan and reduce to a generous 1/3 cup of liquid. Remove from the stove to cool.

Mix the dry ingredients minus the chopped apple in a large bowl.  In a medium bowl mix the applesauce, egg, oil, vanilla and ONLY 1/4 cup cooled cider reduction. Reserve the rest of the reduction (~2 tablespoons) for later.  Pour the wet into the dry and stir just until just combined.  Fold the diced apple into the batter.

Put an even amount of batter into each muffin cup and bake for about 15- 18 minutes or until a toothpick inserted into the center comes out clean.

Remove the muffins from the pan to cool. Mix your cinnamon and sugar together in a shallow bowl or plate and have the reserved cider reduction ready.  Once the muffins are cool enough to handle but still warm, brush the top of each one with the reserved cider and roll the tops of each muffin in the cinnamon sugar to coat.

October 25, 2010

Pumpkin Pie Smoothie, My Way

We all know you can throw pretty much anything into a blender with some ice and call it a smoothie.  I'm sure everyone has their particular preferences- thick or thin, made with milk or juice, sweet or... salty (ew?).  As for me, I prefer thick smoothies, and taste-wise, I like them to go along with the seasons. 

Since the beginning of fall, I've been enjoying Pumpkin Pie Smoothies.  I'm not sure who thought up this idea, but I certainly can't take credit for it.  Below is just what works best for me.

Pumpkin Pie Smoothie

I use frozen pumpkin and unfrozen banana because it creates the best texture in my blender, which is strong enough to crush ice but it's definitely no Vita-Mix.  The unfrozen banana helps to gel the whole thing together without watering down the texture.  Also, I never measure the spices or the almond milk when I make my own so these are my best estimations.
Ingredients

5- 6 pumpkin ice cubes, see "Preparation"
4- 5 ice cubes
1/2 a banana, sliced (does not need to be frozen)
~ 1/2 teaspoon cinnamon
pinch cloves, nutmeg, and allspice
1/2 a scoop vanilla protein powder (optional)
~ 1/3 cup unsweetened almond milk, more as needed

Preparation
Pumpkin Ice Cubes:
At least a few hours before you want to make your smoothie, scoop canned pumpkin into a clean ice cube tray filling each cube 2/3 of the way up. Smooth out the top and add a very thin layer of almond milk to the top (don't worry if it doesn't cover the pumpkin perfectly). Place in the freezer until frozen.

Smoothie:
Pop out desired amount of pumpkin ice cubes and dump them into the blender along with the regular ice cubes. Blend on "Ice Crush" or highest setting until contents resemble a Sno-Cone-like mixture, about 1 minute depending on the strength of your blender (the sound will likely be unpleasant).

Scrape down the sides and add in the banana, spices, and protein powder, if using. Pour about 1/4- 1/3 cup almond milk on top and blend on medium-high scraping the sides as necessary. If the mixture isn't blending well, add a bit more almond milk and try again; I always heir on the side of less milk first because once it gets too watery, all is lost on your quest for a thick smoothie.

Pulse and blend until mixture is uniform but still thick. Pour into a glass and enjoy with a straw and a spoon. I like to add a layer of granola in the middle and top the whole thing with a bit more cinnamon.

October 19, 2010

Culinary Therapy

Sometimes, I just need to cook something. 

I cook for a lot of different reasons.  Some are practical like making dinner on a Sunday night or baking a cake for a special occasion.  Others are for the purpose of experimenting with new-found recipes or ingredients.  And others are more personal. 

Cooking takes my mind off things but it also helps me think.  It's cleansing, it's enlivening, it's very therapeutic, and that's why I love it. 

I find there are certain recipes that lend themselves more easily to what I'm going to call "Culinary Therapy" than others.  Those recipes would be things that are time consuming but not overly fussy.  Things like risottos, soups, stews, breads, and sauces.

Today, I made tomato sauce.  No recipe, no complicated twist, just ingredients I had on hand layered and seasoned and stirred with love.

Even though you probably already like cooking if you read my blog, for those of you that may still be a little timid, or cook only for practical purposes, I want to encourage you to get in the kitchen.  Spend an afternoon cooking not because you have to but because you want to.  Don't follow a recipe, don't measure ingredients, just have fun with it.  I hope you will.

October 12, 2010

Dark Chocolate Spelt Brownie Cake

If you're someone who experiments in the kitchen a lot, you know that sometimes new baking endeavors just don't turn out.  Other times they end up tasting alright, but not quite the way you wanted them too.  Occasionally though, you have a success and a pretty delicious one at that.

I have some whole spelt flour to use up but almost every time I've made cookies with spelt, they turn out overly soft and moist.  So, I thought why not experiment with making spelt brownies?  Soft and moist are definitely not bad qualities when it comes to brownies (or cakes, for that matter).  In the end, I decided these should be called brownie cake because, although I like cakier brownies, the texture of these was so light and delicate that "brownie" didn't seem quite right.  Honestly, they taste a lot like devils food cake, and that's nothing to complain about.

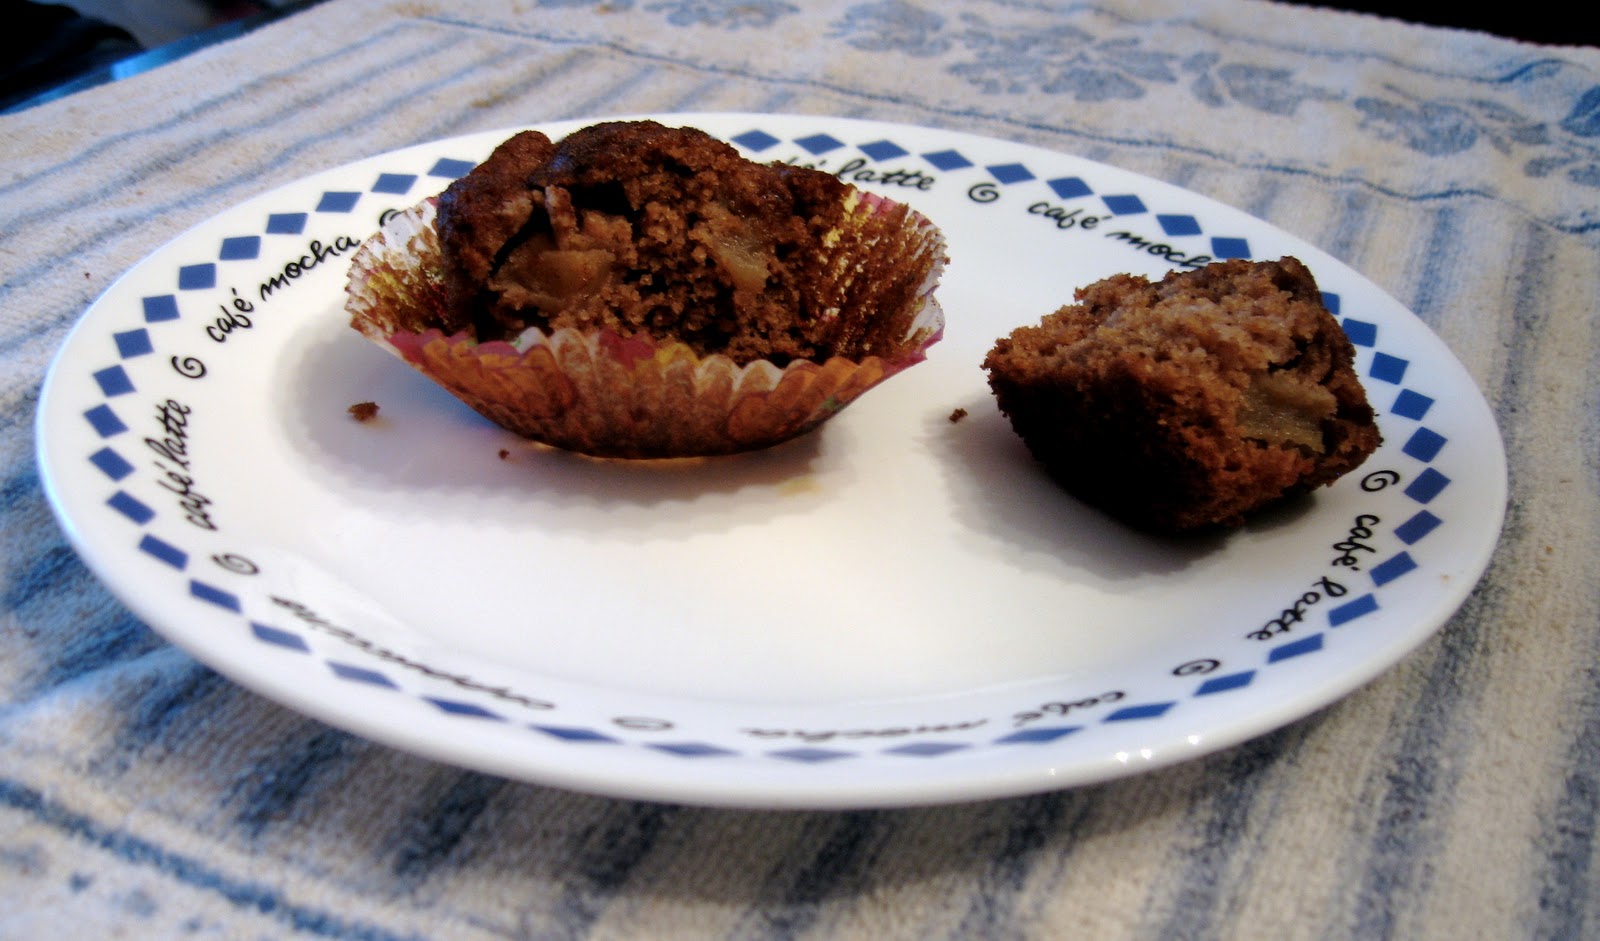
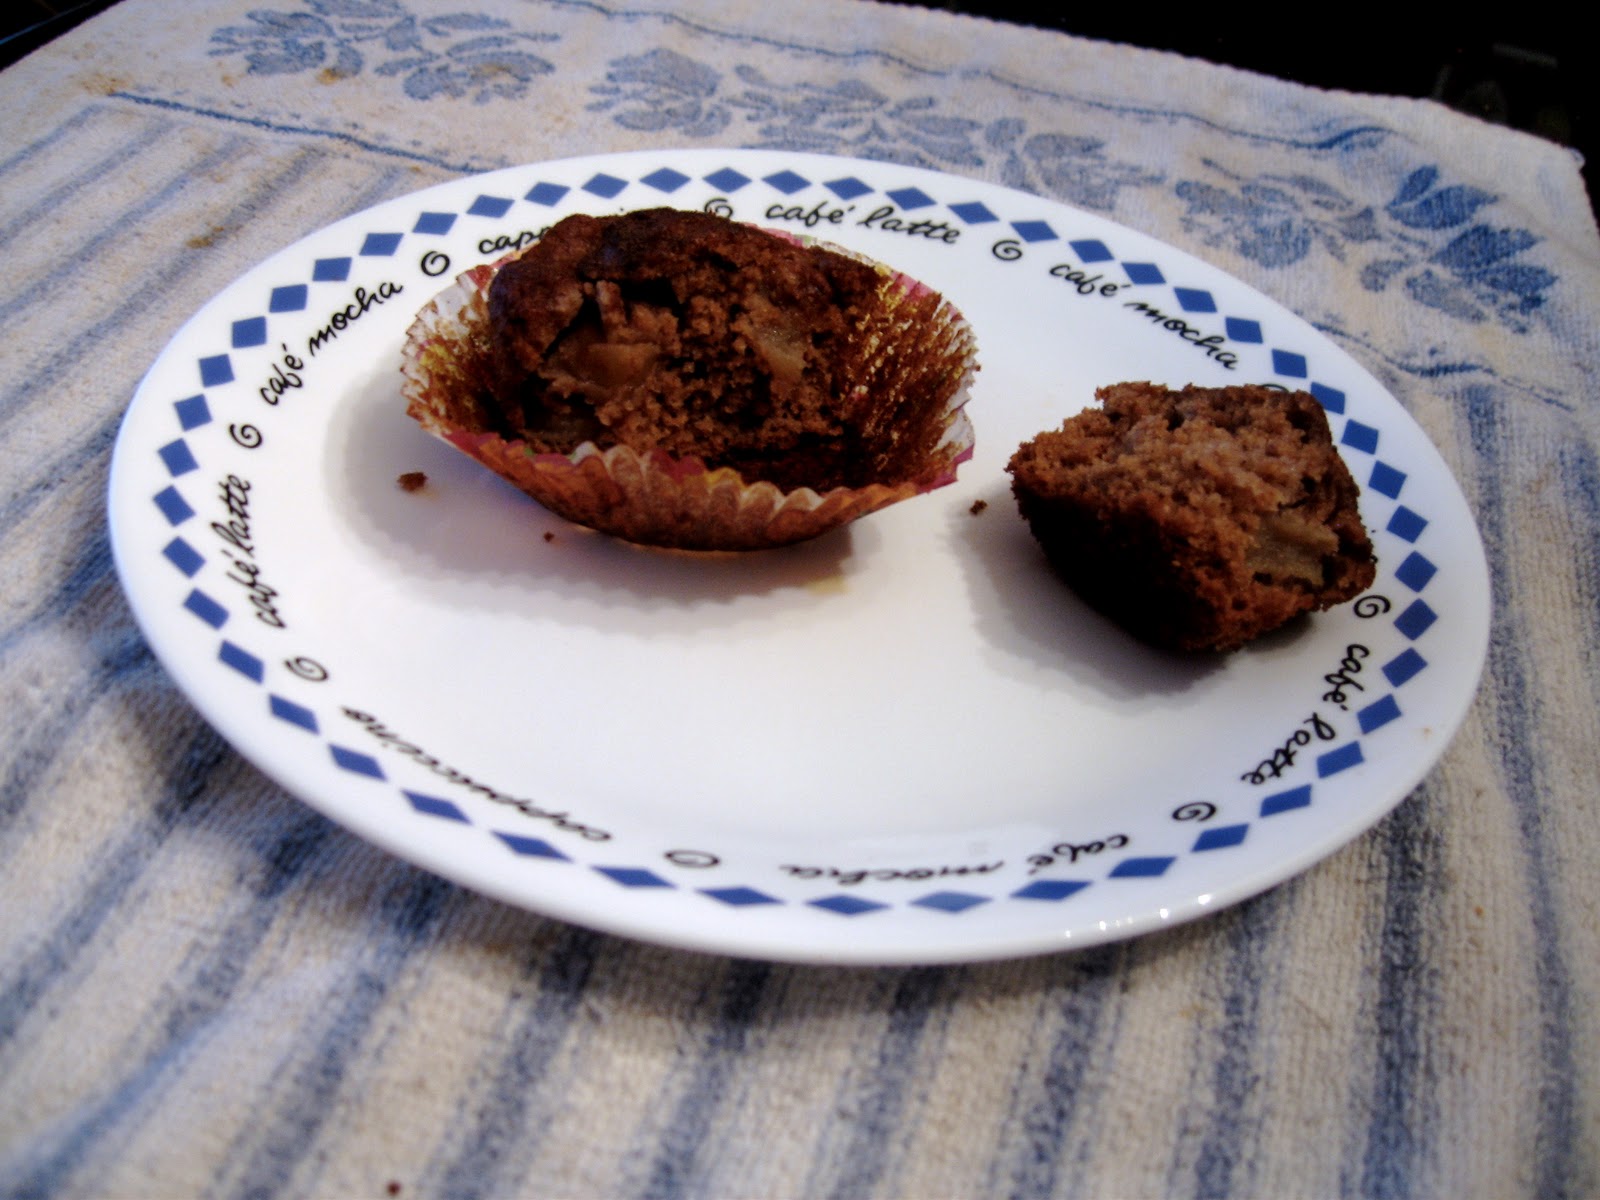
I love the flavor of these because it's deep, complex, and totally chocolate.  They're not too sweet, which is a plus for me, because I like to taste the true character of the chocolate, not just the sugary sweetness.  You can keep this as is for a thin loaf cake and frost it with your favorite icing, dust the top with powdered sugar, double the recipe and call it a sheet cake, or you can do what I did and cut it into squares... and then crumble it in between the layers of a breakfast parfait; I think that's my favorite way :)

Dark Chocolate Spelt Brownie Cake
This brownie cake is delicate and light so be sure to read the instructions about cooling and handle with care!  I think the delicate texture is due to the use of ONLY spelt flour.  If you want a denser brownie, I think subbing in a bit of whole wheat pastry flour for part of the spelt or using less flour altogether may help.  Also, please note that I made this in a loaf pan.  If you'd like to make it in a standard 8x8 brownie pan, I would double the recipe.

Ingredients

1/2 cup plus 1 tablespoon wholegrain spelt flour
1/4 cup unsweetened cocoa powder
scant 1/2 cup sugar
1/2 teaspoon salt
1/2 teaspoon baking soda
1 egg
1 1/2 teaspoons vanilla extract
1/2 cup canned pumpkin
1 teaspoon apple cider vinegar
1 oz unsweetened chocolate, melted (I used Baker's)
3 tablespoons oil
2 tablespoons unsweetened almond milk

butter for the pan

Preparation
Preheat the oven to 350 F.  Butter a standard loaf pan.

Mix together the dry ingredients in a large bowl and set aside.  Mix the wet ingredients in a small bowl making sure the melted chocolate is cool enough not to cook the egg [I melted the chocolate in the microwave (do this slowly or else it will burn) and then mixed in the oil to temper it].  Add the wet ingredients to the dry and mix until evenly combined.

Pour the batter into a buttered loaf pan and smooth out the top with a spoon.  Bake for about 30- 35 minutes (the sides should be slightly pulling away from the pan) and allow to cool for at least 20 minutes in the pan.  Then lightly flip out onto a flat surface to finish cooling.  Once cool, cut the loaf with a very sharp knife into however many squares you'd like.

October 6, 2010

20 Minute Oatmeal Scones

Normally, I'm not a big fan of scones because normally, scones aren't good. I've had many that taste like a stale biscuit or a poor excuse for a cookie; they're dry and crumbly, and all around unappealing. For this reason, I've never made scones, but their homey, rustic, and adaptable nature has always appealed to me (not to mention I do love treats that pair well with tea or coffee).

I was on my way back from yoga today, thinking about what I wanted for breakfast (of course) and I remembered these 15 Minute Oatmeal Scones I read about a day or so ago.  I love the flavor of oatmeal, and while I'm usually too ravenous in the morning to whip up anything out of the ordinary for breakfast, this recipe said they'd only take 15 minutes (but more realistically, I'd say they take 20).

And that was that, I was making scones.  Right when I walked in the door, I preheated the oven and in 20 minutes I was enjoying a warm scone, fresh out of the oven.  The simplicity of this recipe allowed the more subtle flavors of the butter and the oatmeal to come through in a great way.  Topped with almond butter and apricot jam, alongside some greek yogurt and fruit, it was a pretty perfect breakfast. 


20 Minute Oatmeal Scones
Adapted from Eat Live Run (head over to Jenna's blog for more in process shots)
Makes 6 small or 4 large scones

Ingredients
1/2 cup old-fashioned oats
2/3 cup whole wheat pastry flour
1/2 teaspoon salt
1 teaspoon baking powder
2 tablespoons unsalted butter, cut into pieces
1/2 cup milk [I didn't have whole so I used a scant 1/2 cup skim plus about a tablespoon of cream]

Preparation
Preheat your oven to 475 F.  Mix together the oats, flour, salt, and baking powder in a large bowl. Cut in the butter and work with your fingers until the mixture resembles cornmeal. Pour in the milk and mix until just combined.

Pour the mixture onto your lined baking sheet and lightly shape into a circle.  Bake for 13- 15 minutes or until golden.